Shooting Infrared Photography
I’m always obsessed with something, and my latest obsession is infrared photography.
Oh. My.
I could not love this more! And not just because I love pink so much…
I’ve wanted an IR camera for about 10 years. Ever since I saw infrared photos for the first time. I was completely smitten and knew that one day I wanted to create dreamy photos like the ones I had seen. I also knew that I still had a long ways to go in learning photography and getting better at my craft. So I didn’t get an IR camera right away and I’ve been pursuing many other things related to my photography in the intervening years. But I never forgot about infrared and frequently would go looking for beautiful IR images online.
Sitting at home in isolation for so many months this year, really gave me a lot of time to think about where I want to take my photography and I realized it was time to take the plunge into infrared photography. And, not being one to do things half-heartedly, I didn’t go for a filter but jumped right in and bought a new DSLR camera and had it converted to Infrared. This basically means, you can never use it for anything else. You can’t take regular photos with it. It’s a commitment! But I always knew this would be something that I would love.
Then I started reading everything I could on how to do this. I watched more marginal-to-useless YouTube videos on IR than I can count and searched everywhere for information on shooting with an IR camera and then how to edit the photos. It was surprisingly difficult to find good information and it was incredibly frustrating in the beginning. But after a few disastrous attempts, I was finally able to find enough information and sort out a workflow that helps me create the images I want.
I’m working on a more in-depth tutorial which I’ll post on my resources page in the next couple of weeks, but for now, here’s just a very quick run down of what the process looks like.
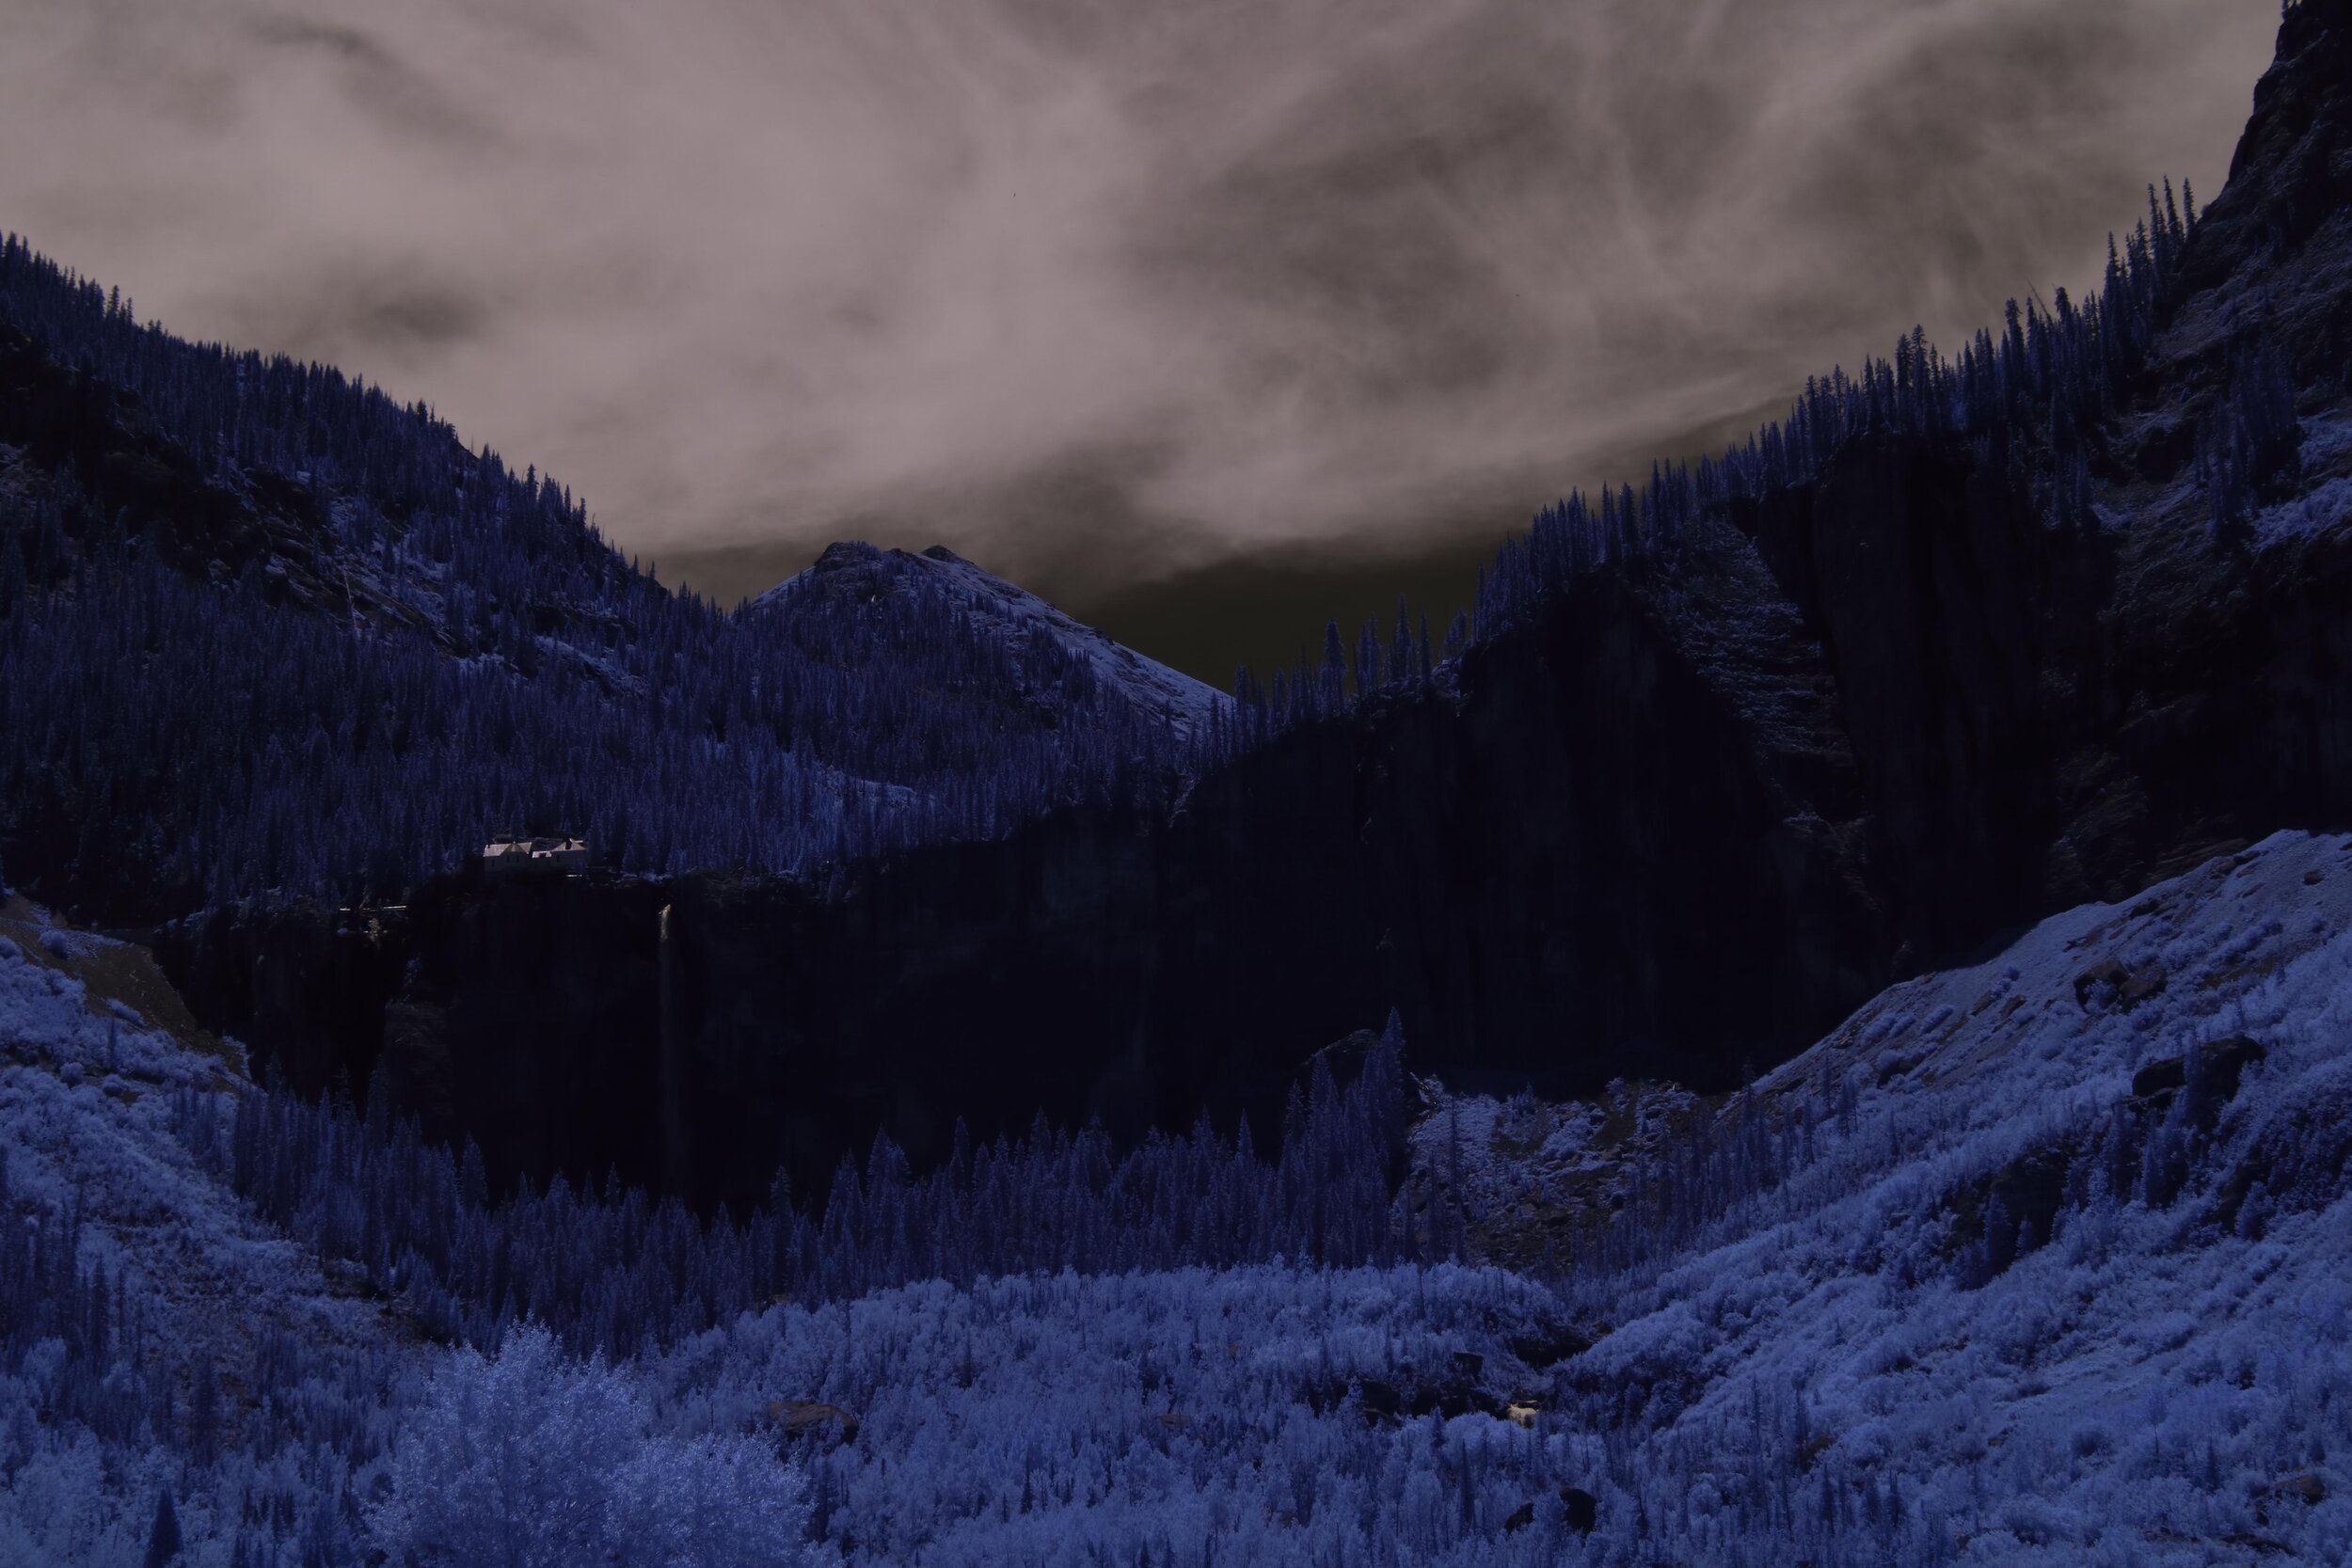
This is what the photo looks like straight out of my camera:
You really can’t edit this version in Lightroom, or pretty much any other standard editor at this point. The problem is the temperature of the photos. It has to be changed too much and most editors don’t give you enough latitude to fix it. So, I had to download the Canon photo editor for this camera. I bring the photo into the Canon editor and make a temperature correction. It looks very subtle in this one, but you have to do it or you will have difficulty editing the photo anywhere else. Temperature correction:
Once the photo has been temperature corrected, then it can be taken into Photoshop, or another editing program that can let you channel swap the colors. I won’t explain what that is here, but I basically set up a Photoshop action to run all of those steps for me. So at a click of the button, the channels are color swapped and this is the result:
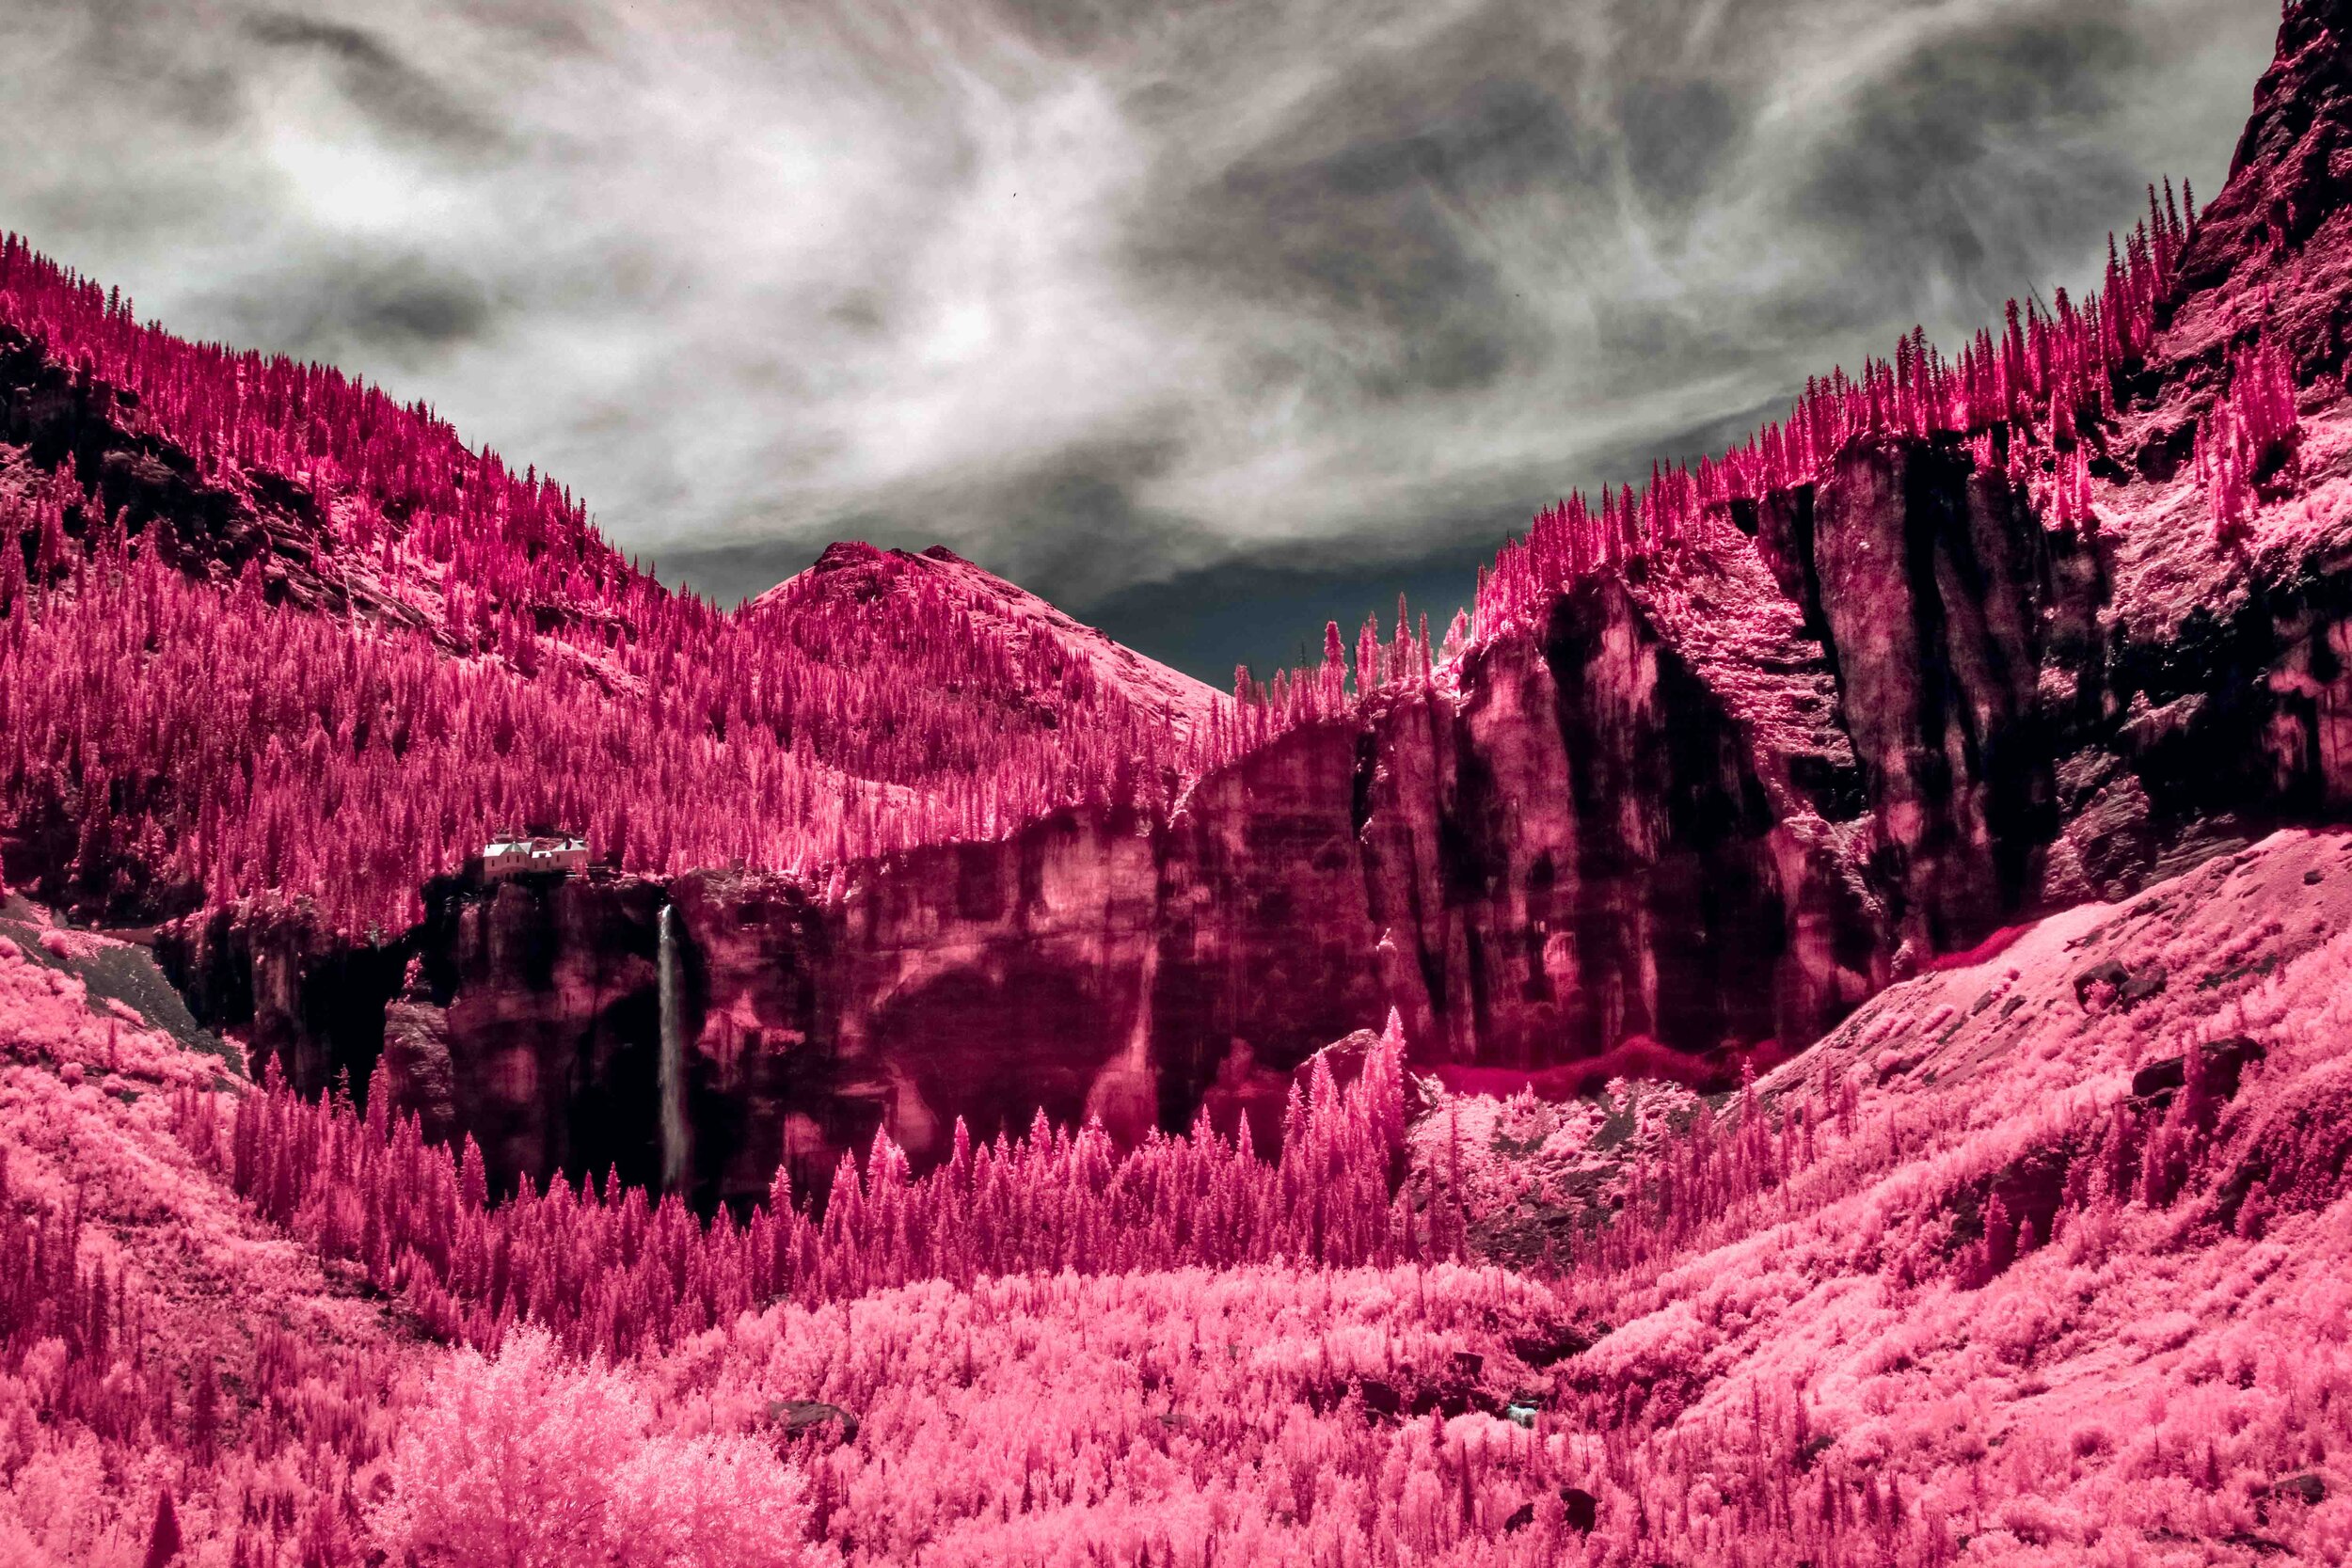
All of that was the difficult stuff to figure out over the last couple of months. Once the photo is at this point, then I take it into Lightroom, or transfer to my iPhone, and begin the real, or I suppose my ‘normal’ editing. That’s where the magic happens… And this is the result:
I love editing photos and since I am almost never trying to represent reality in my work, this is a method that works really well for me in helping me to create the photos I imagine. Here’s the before & after:
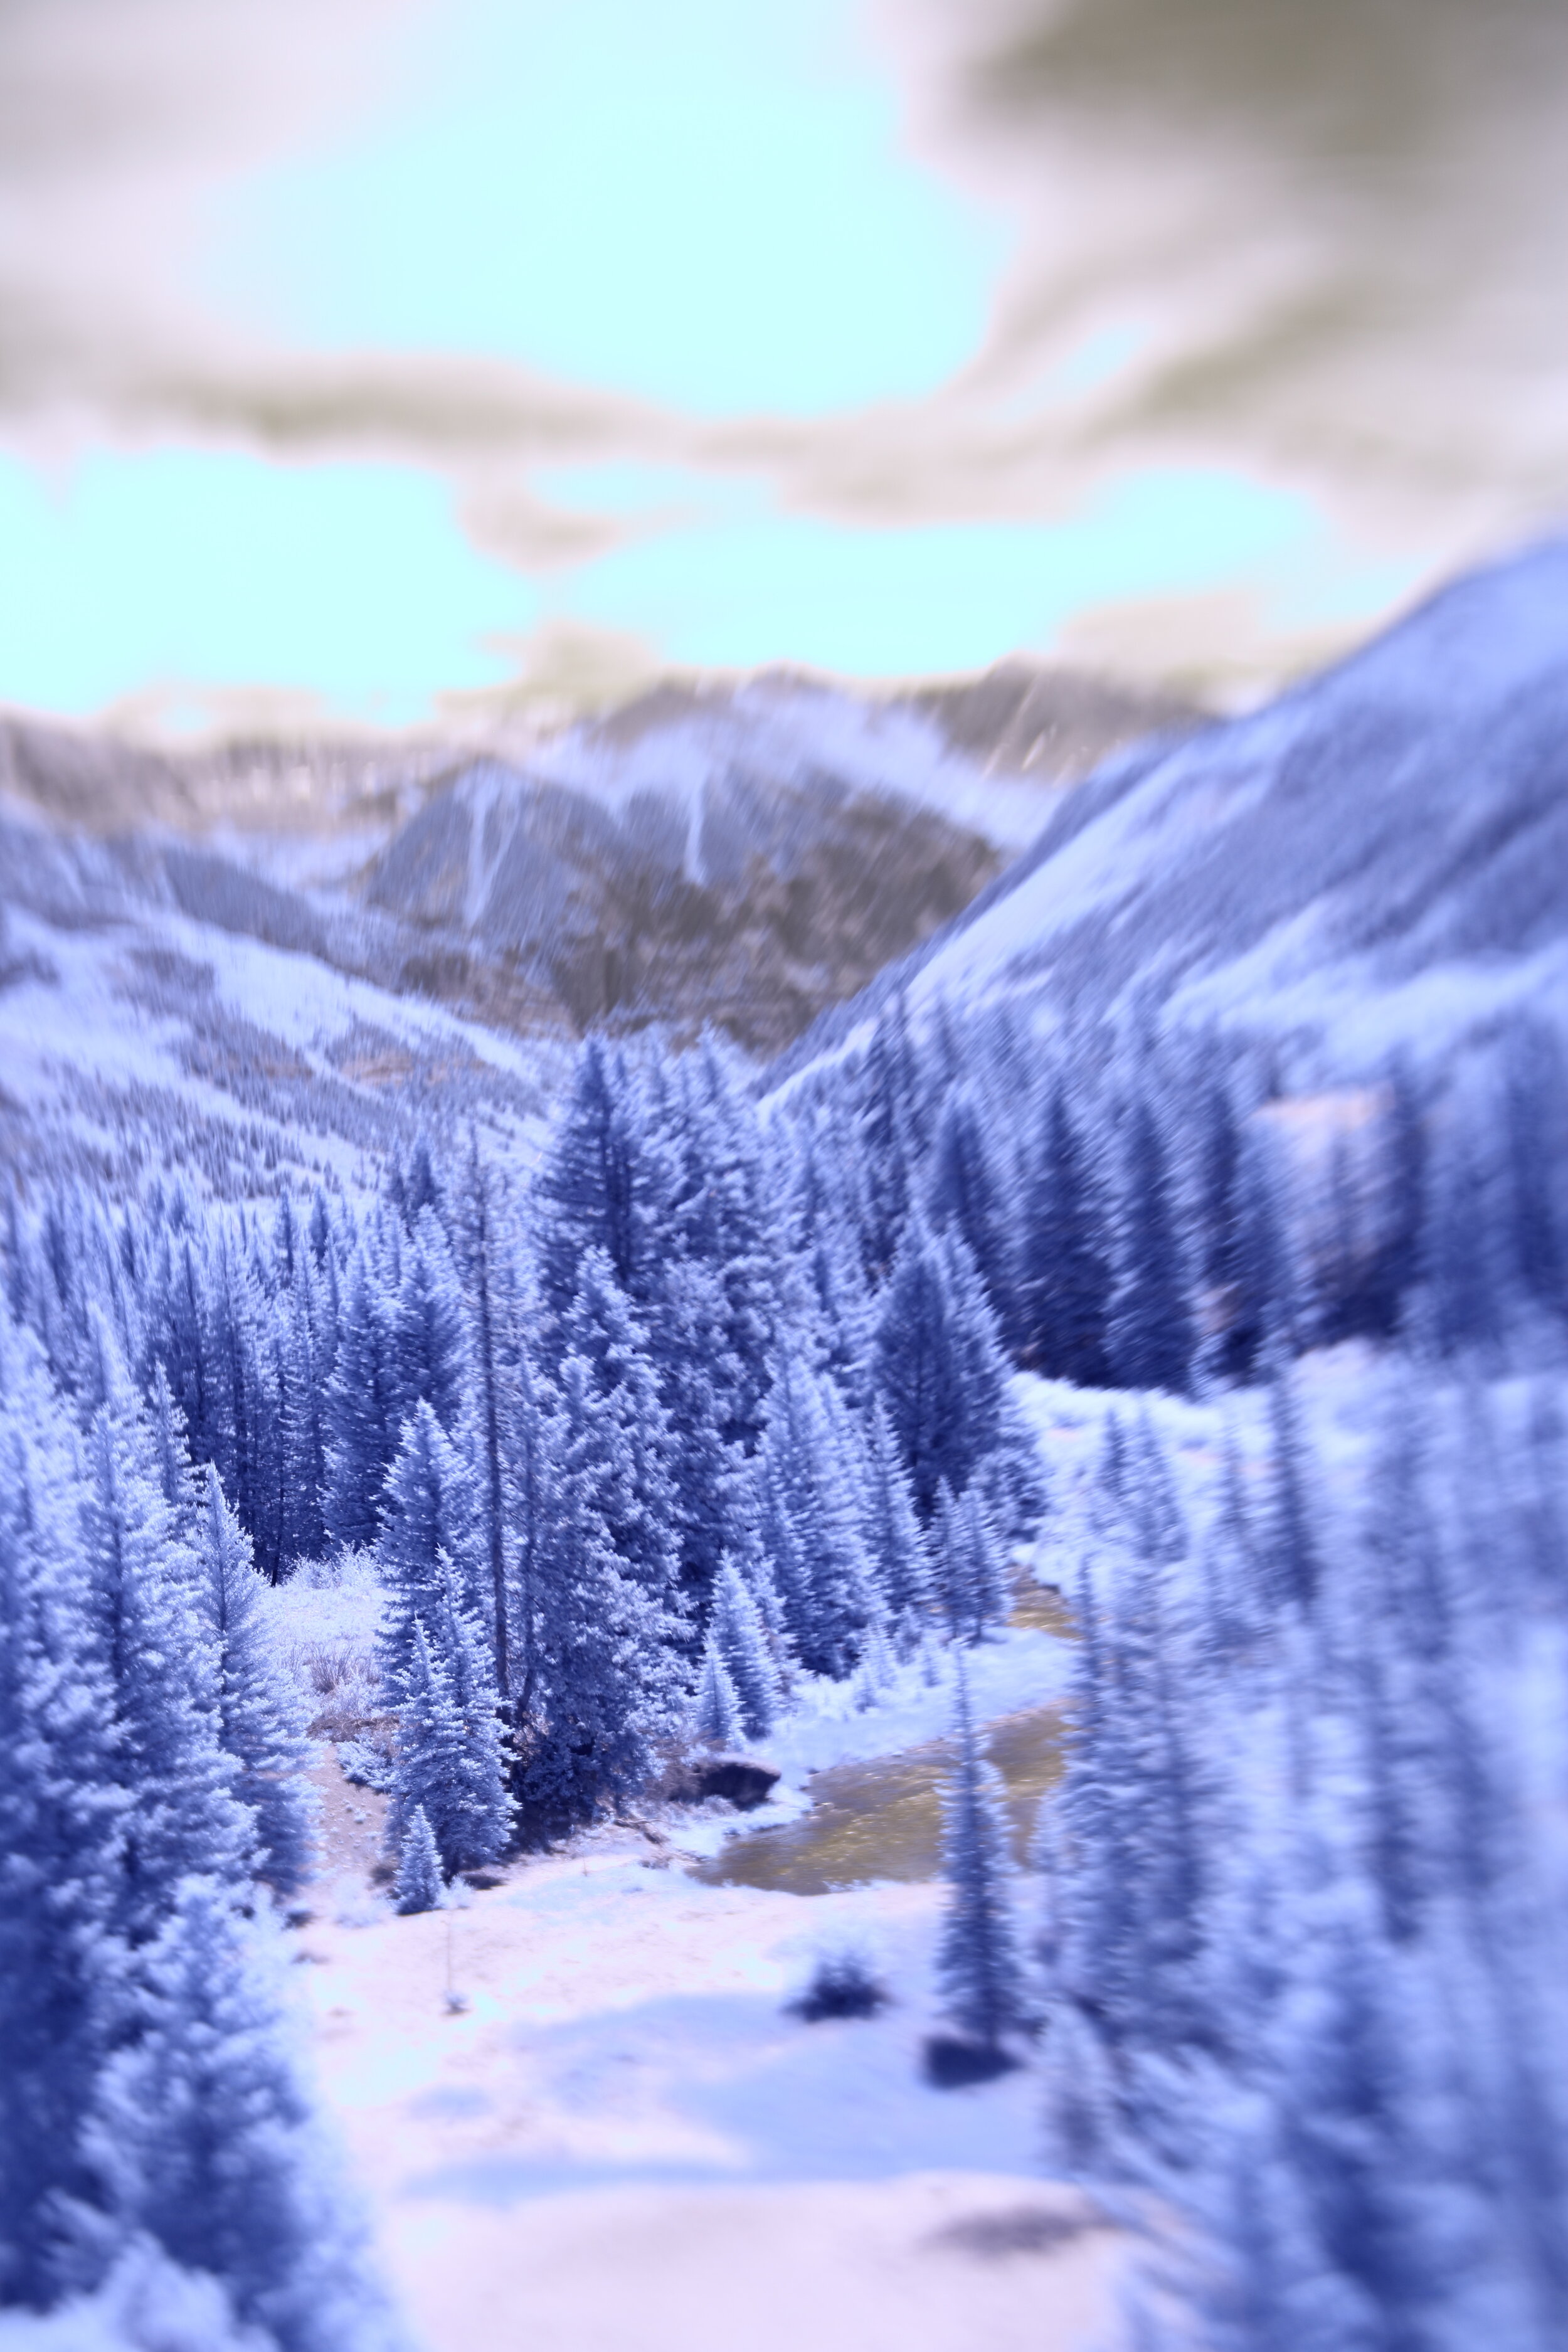
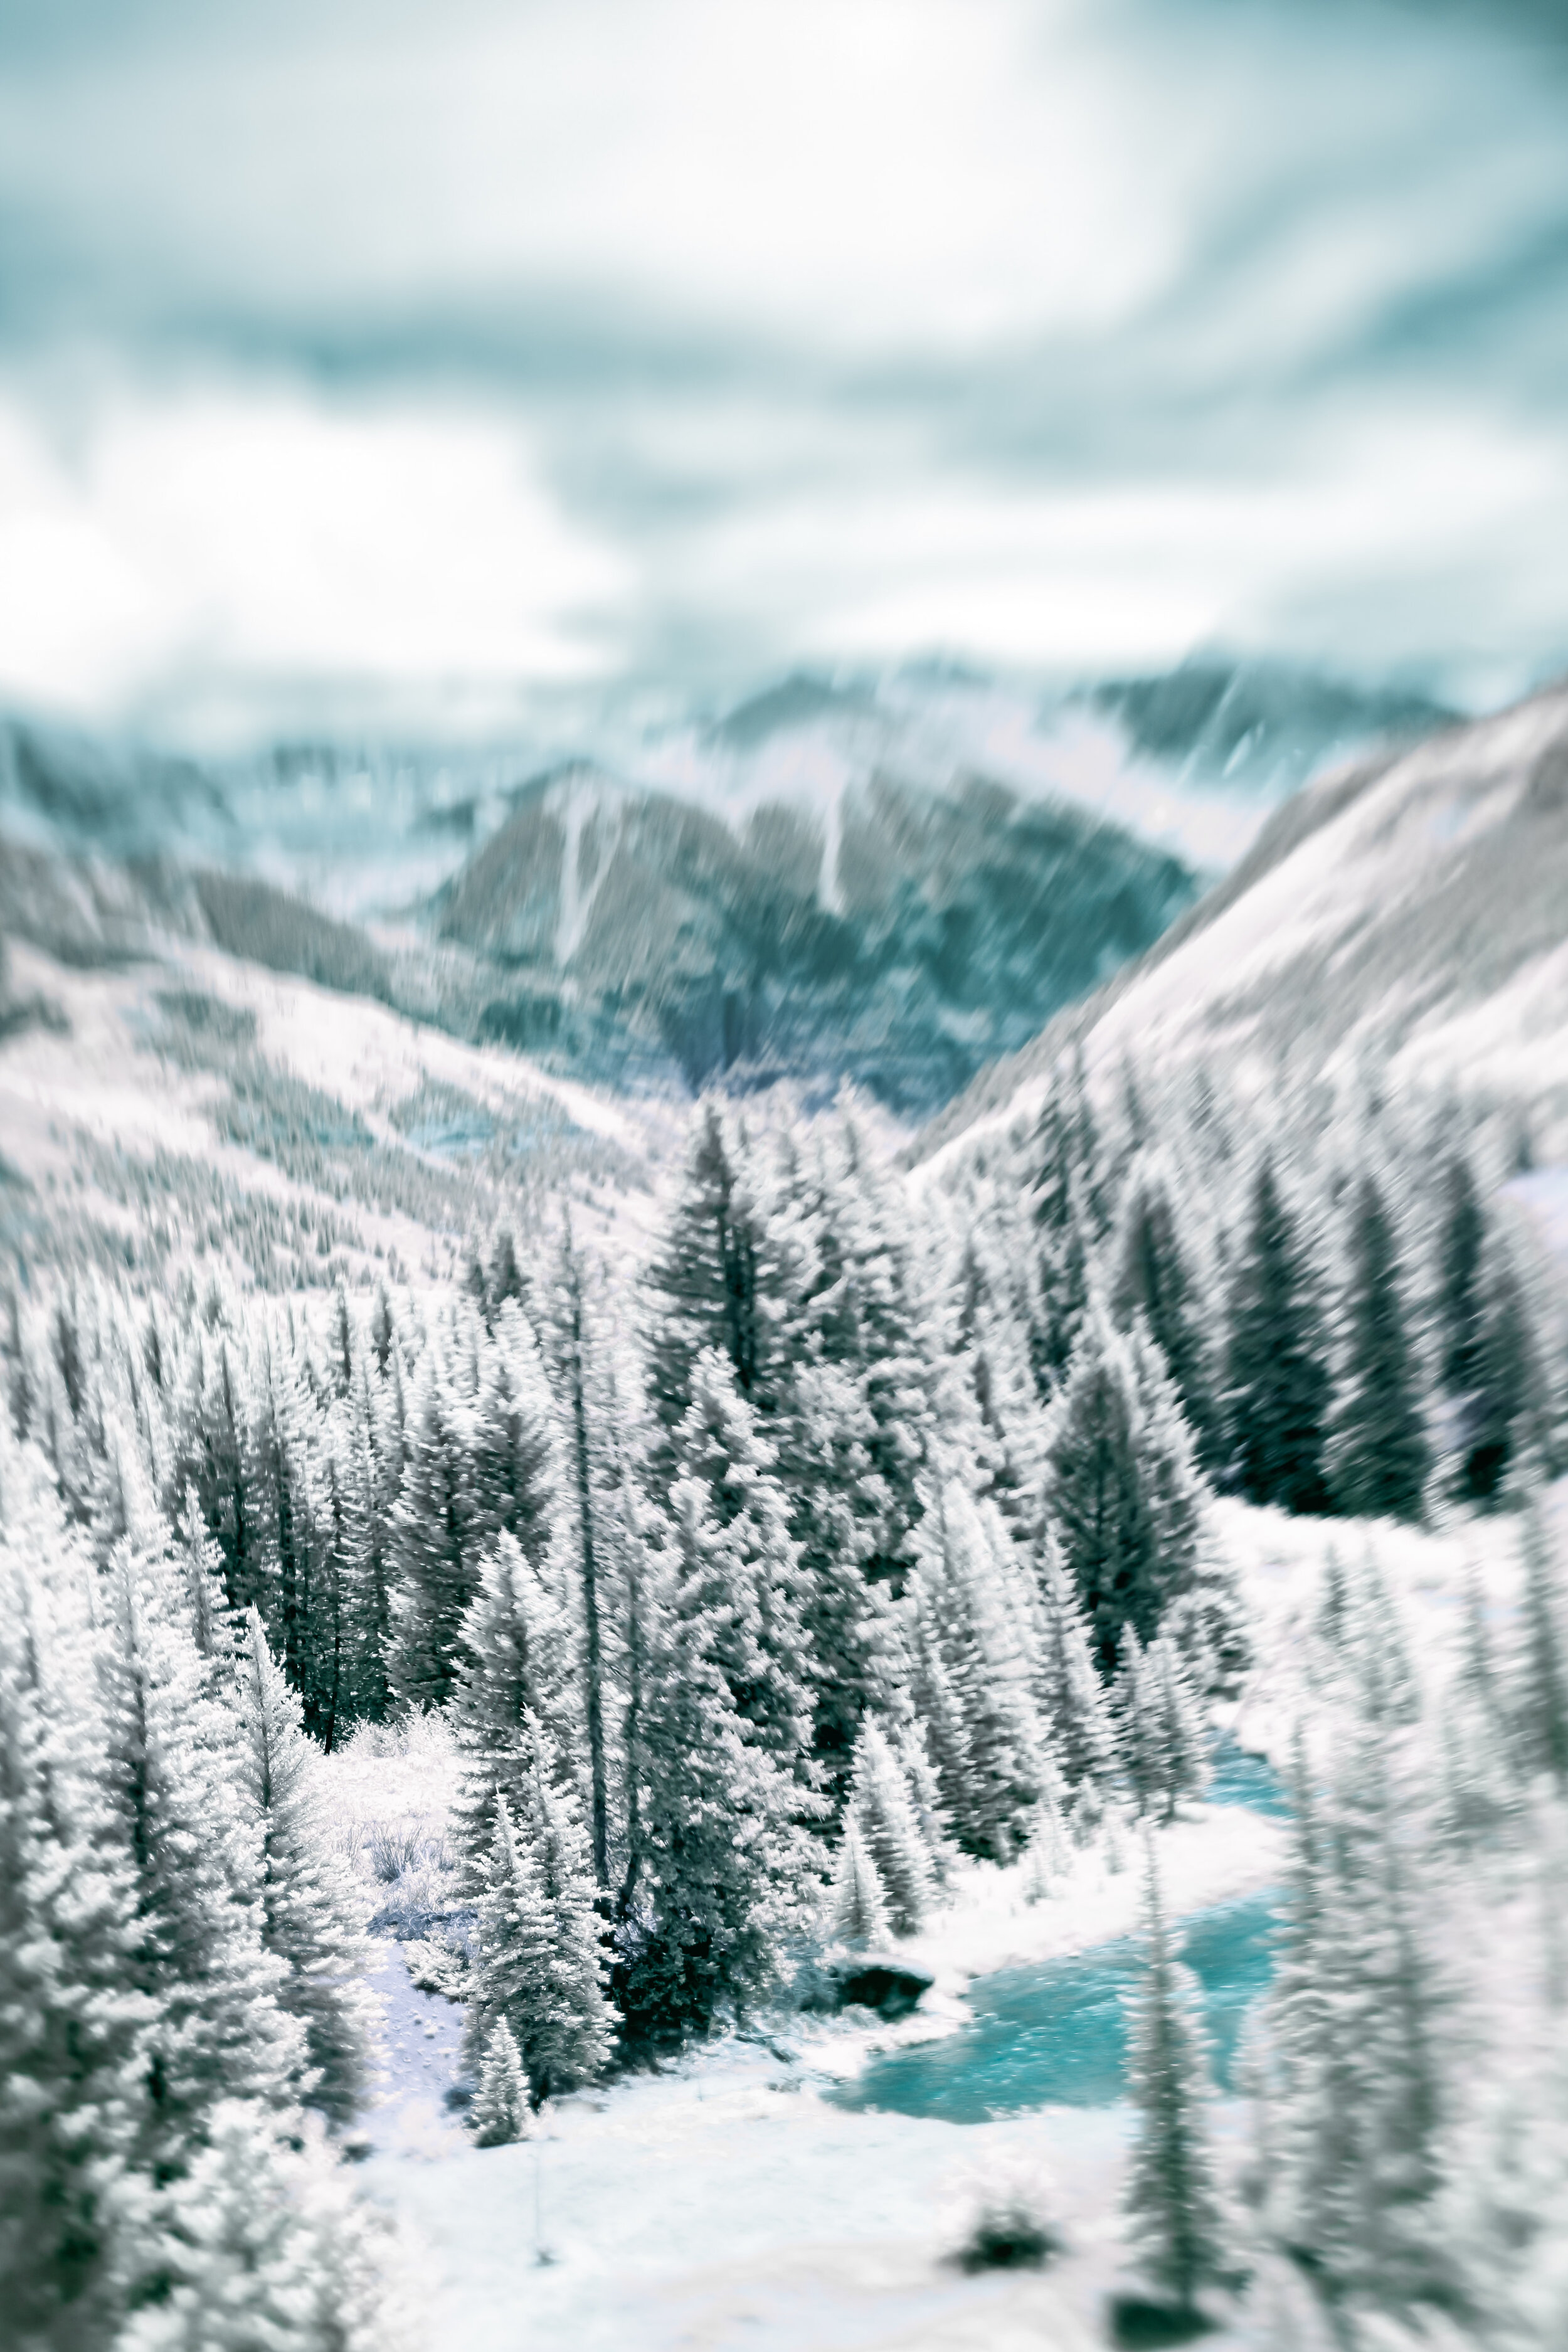
You can do a lot of bending with the IR color. You do have to be EXTRA careful not to blow the highlights. They seem to be even more difficult to recover. Here’s just one more example, before & after, and you can see I’ve blown the highlights a bit and didn’t recover them quite as well as I’d like:
There’s so much that I love about shooting IR. I just love the dreamy, reality-but-not-reality photos you can create. Winter is my favorite season so I also love that you can turn any image into a winter-like dreamland too.
So there you have it. A quick look into shooting with an infrared camera. I’m putting together a detailed tutorial on shooting IR. If you’re interested, you can sign up for my IR specific newsletter below:


